https://andrew.weitzel.tech

'It's embarrassing and really weird to have your own website. It's like putting your name up on a corkboard at Wal-Mart.' - Leo Kottke
Enable Cori View
Enable Cori View
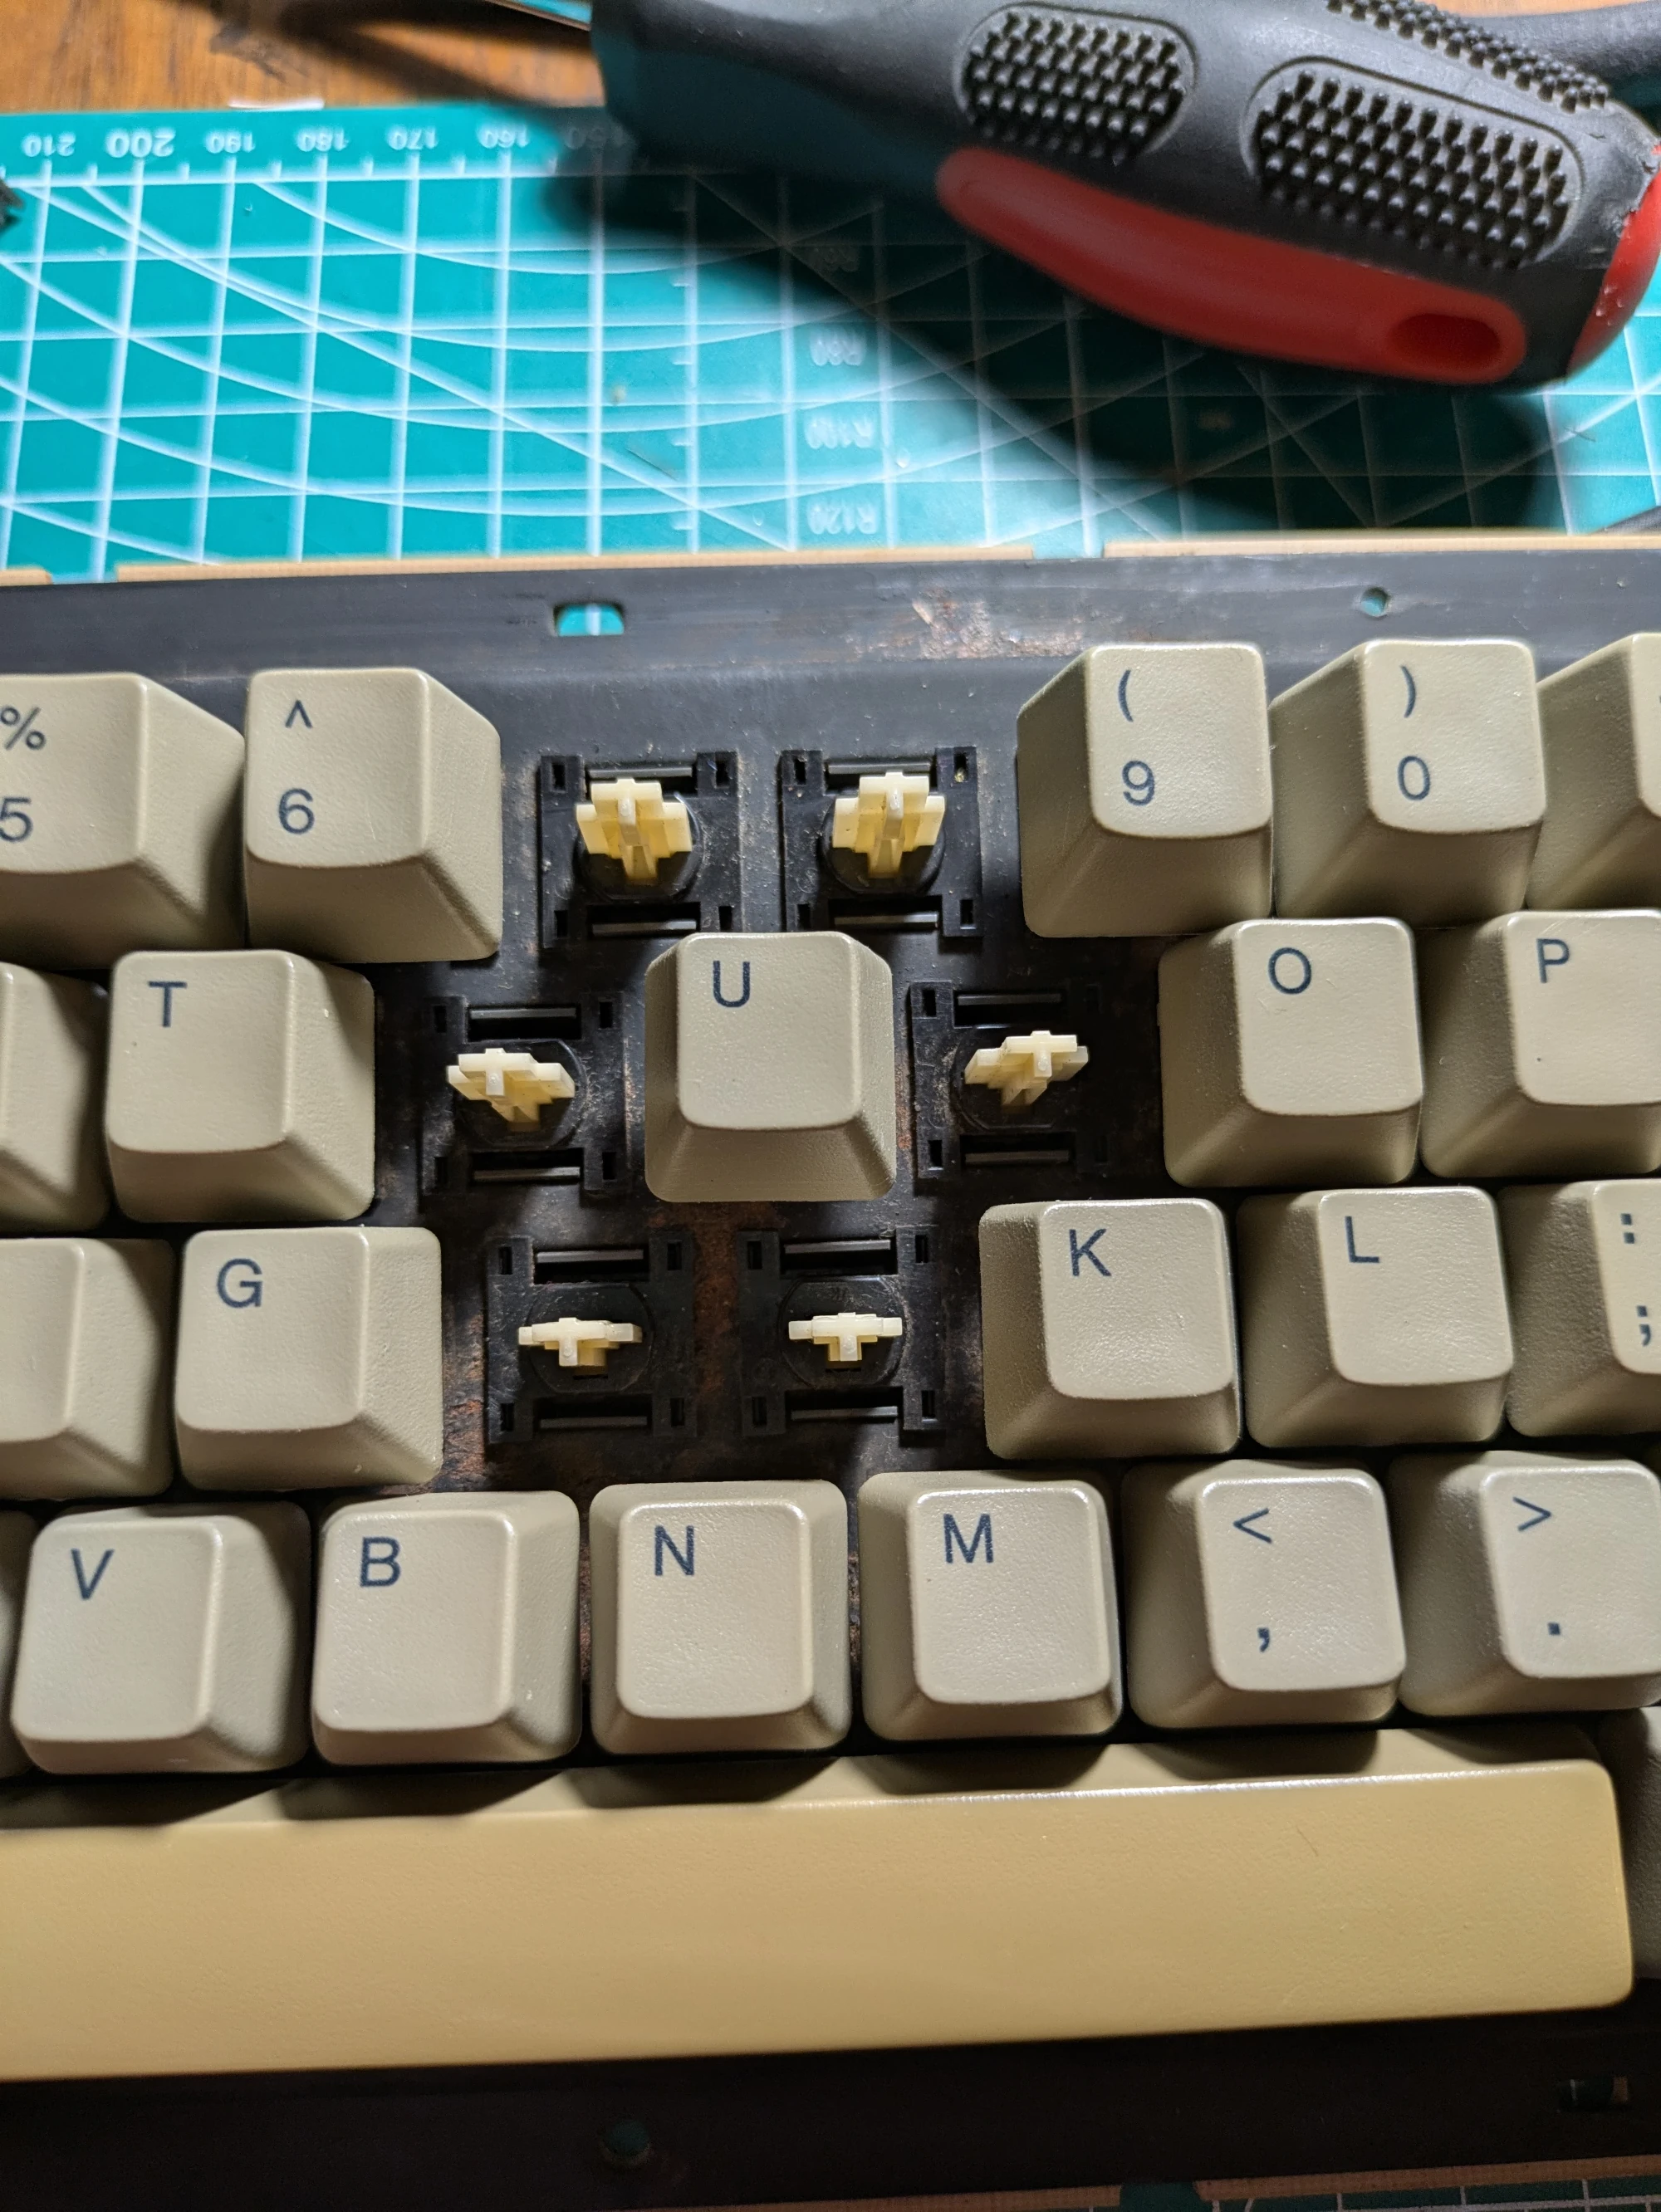
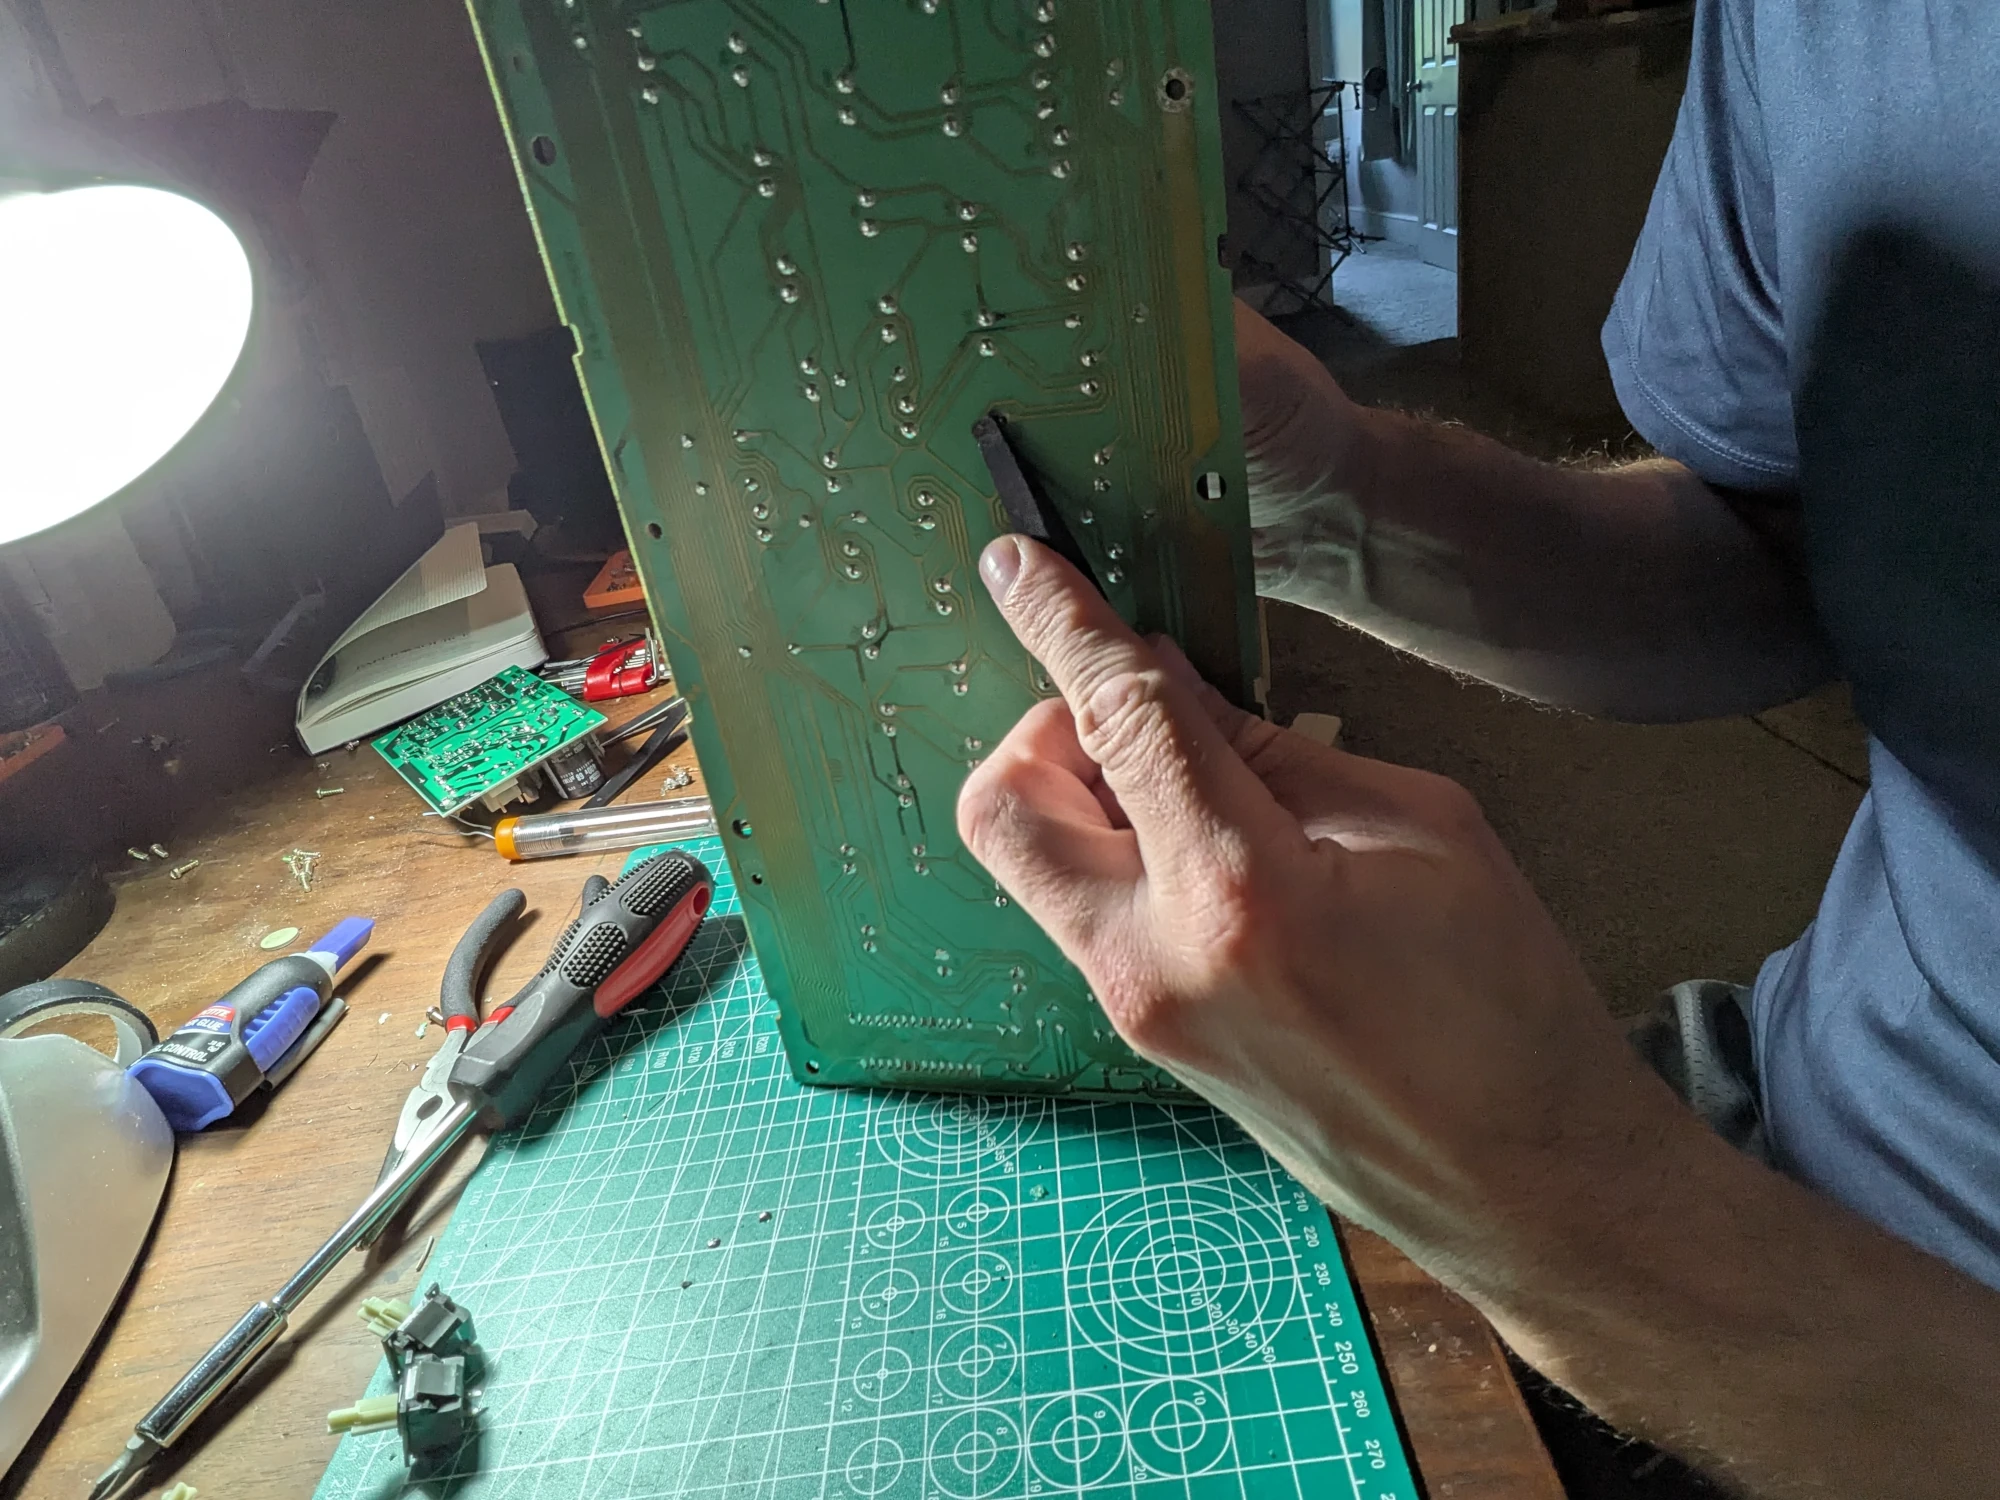
First thing to do was to remove the keycaps around the bum switch. This will make it way easier to grip the tabs on the switch for removal. In this case, I was fixing the "U" key. After pulling the "U" keycap last, I gripped the board between my fingers in order to determine what contact I needed to desolder. I then desoldered the switch from the underside of the board using my Hakko desoldering gun (not pictured since I forgot to photo myself doing it).
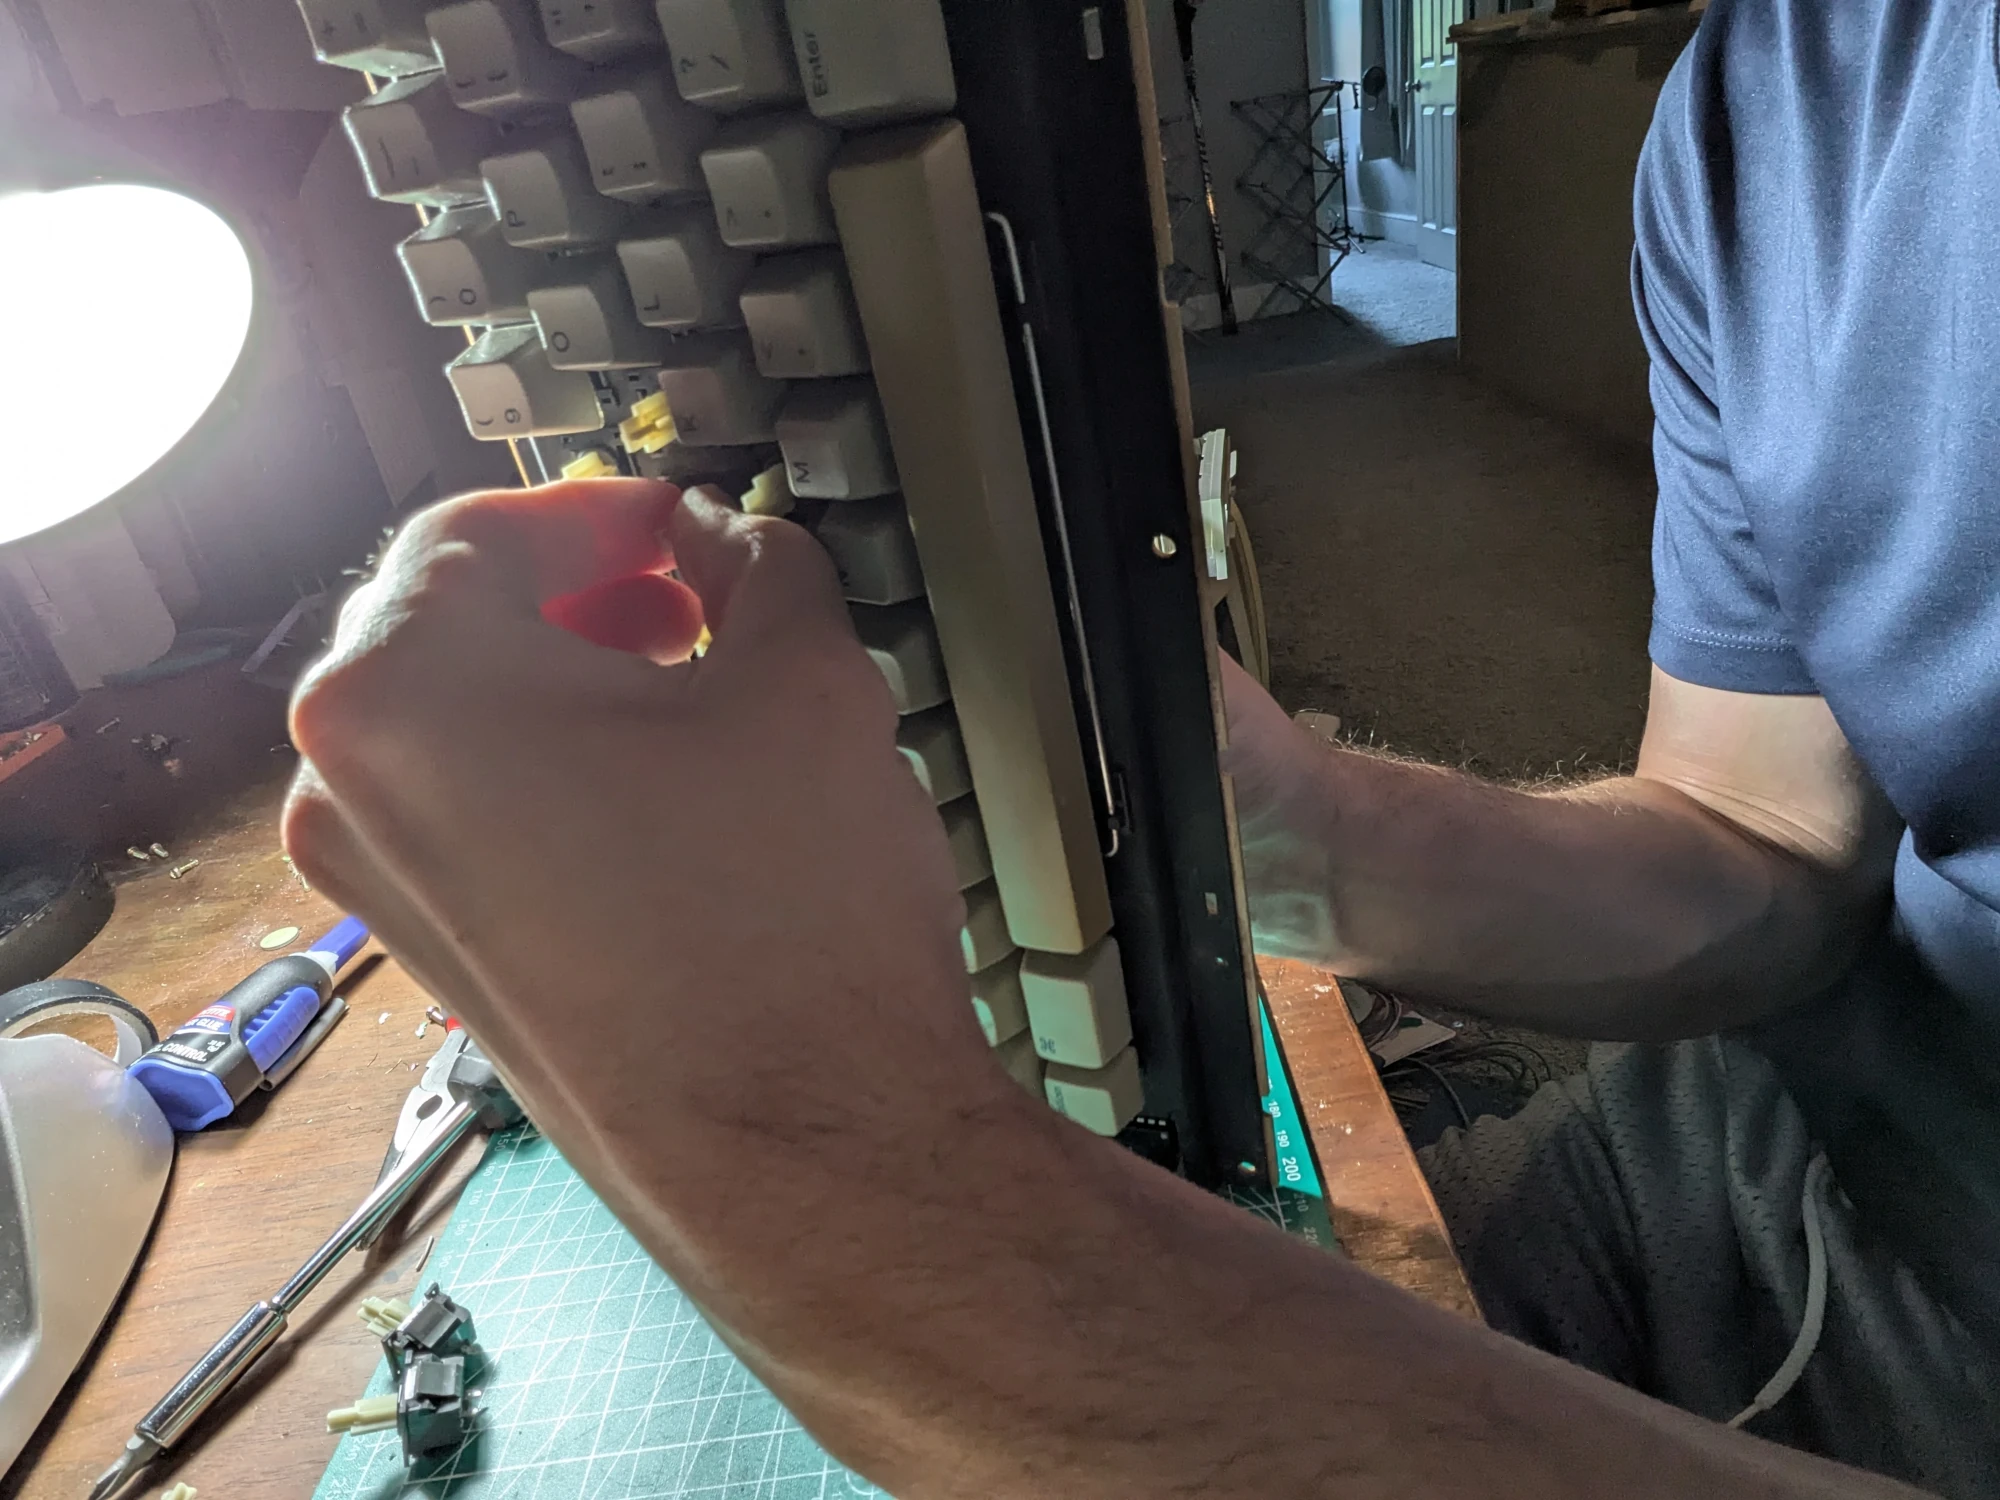
Next up, after desoldering the switch, it was time to pull it out. using my right hand, I squeezed the tabs on the top of the switch...
...and pushed on the pins on the bottom side using a plastic spudger. The switch then popped out. I replaced several switches, and some were easier to remove than the others. You may need to do a little wiggling and plastic spudgering to get it free.
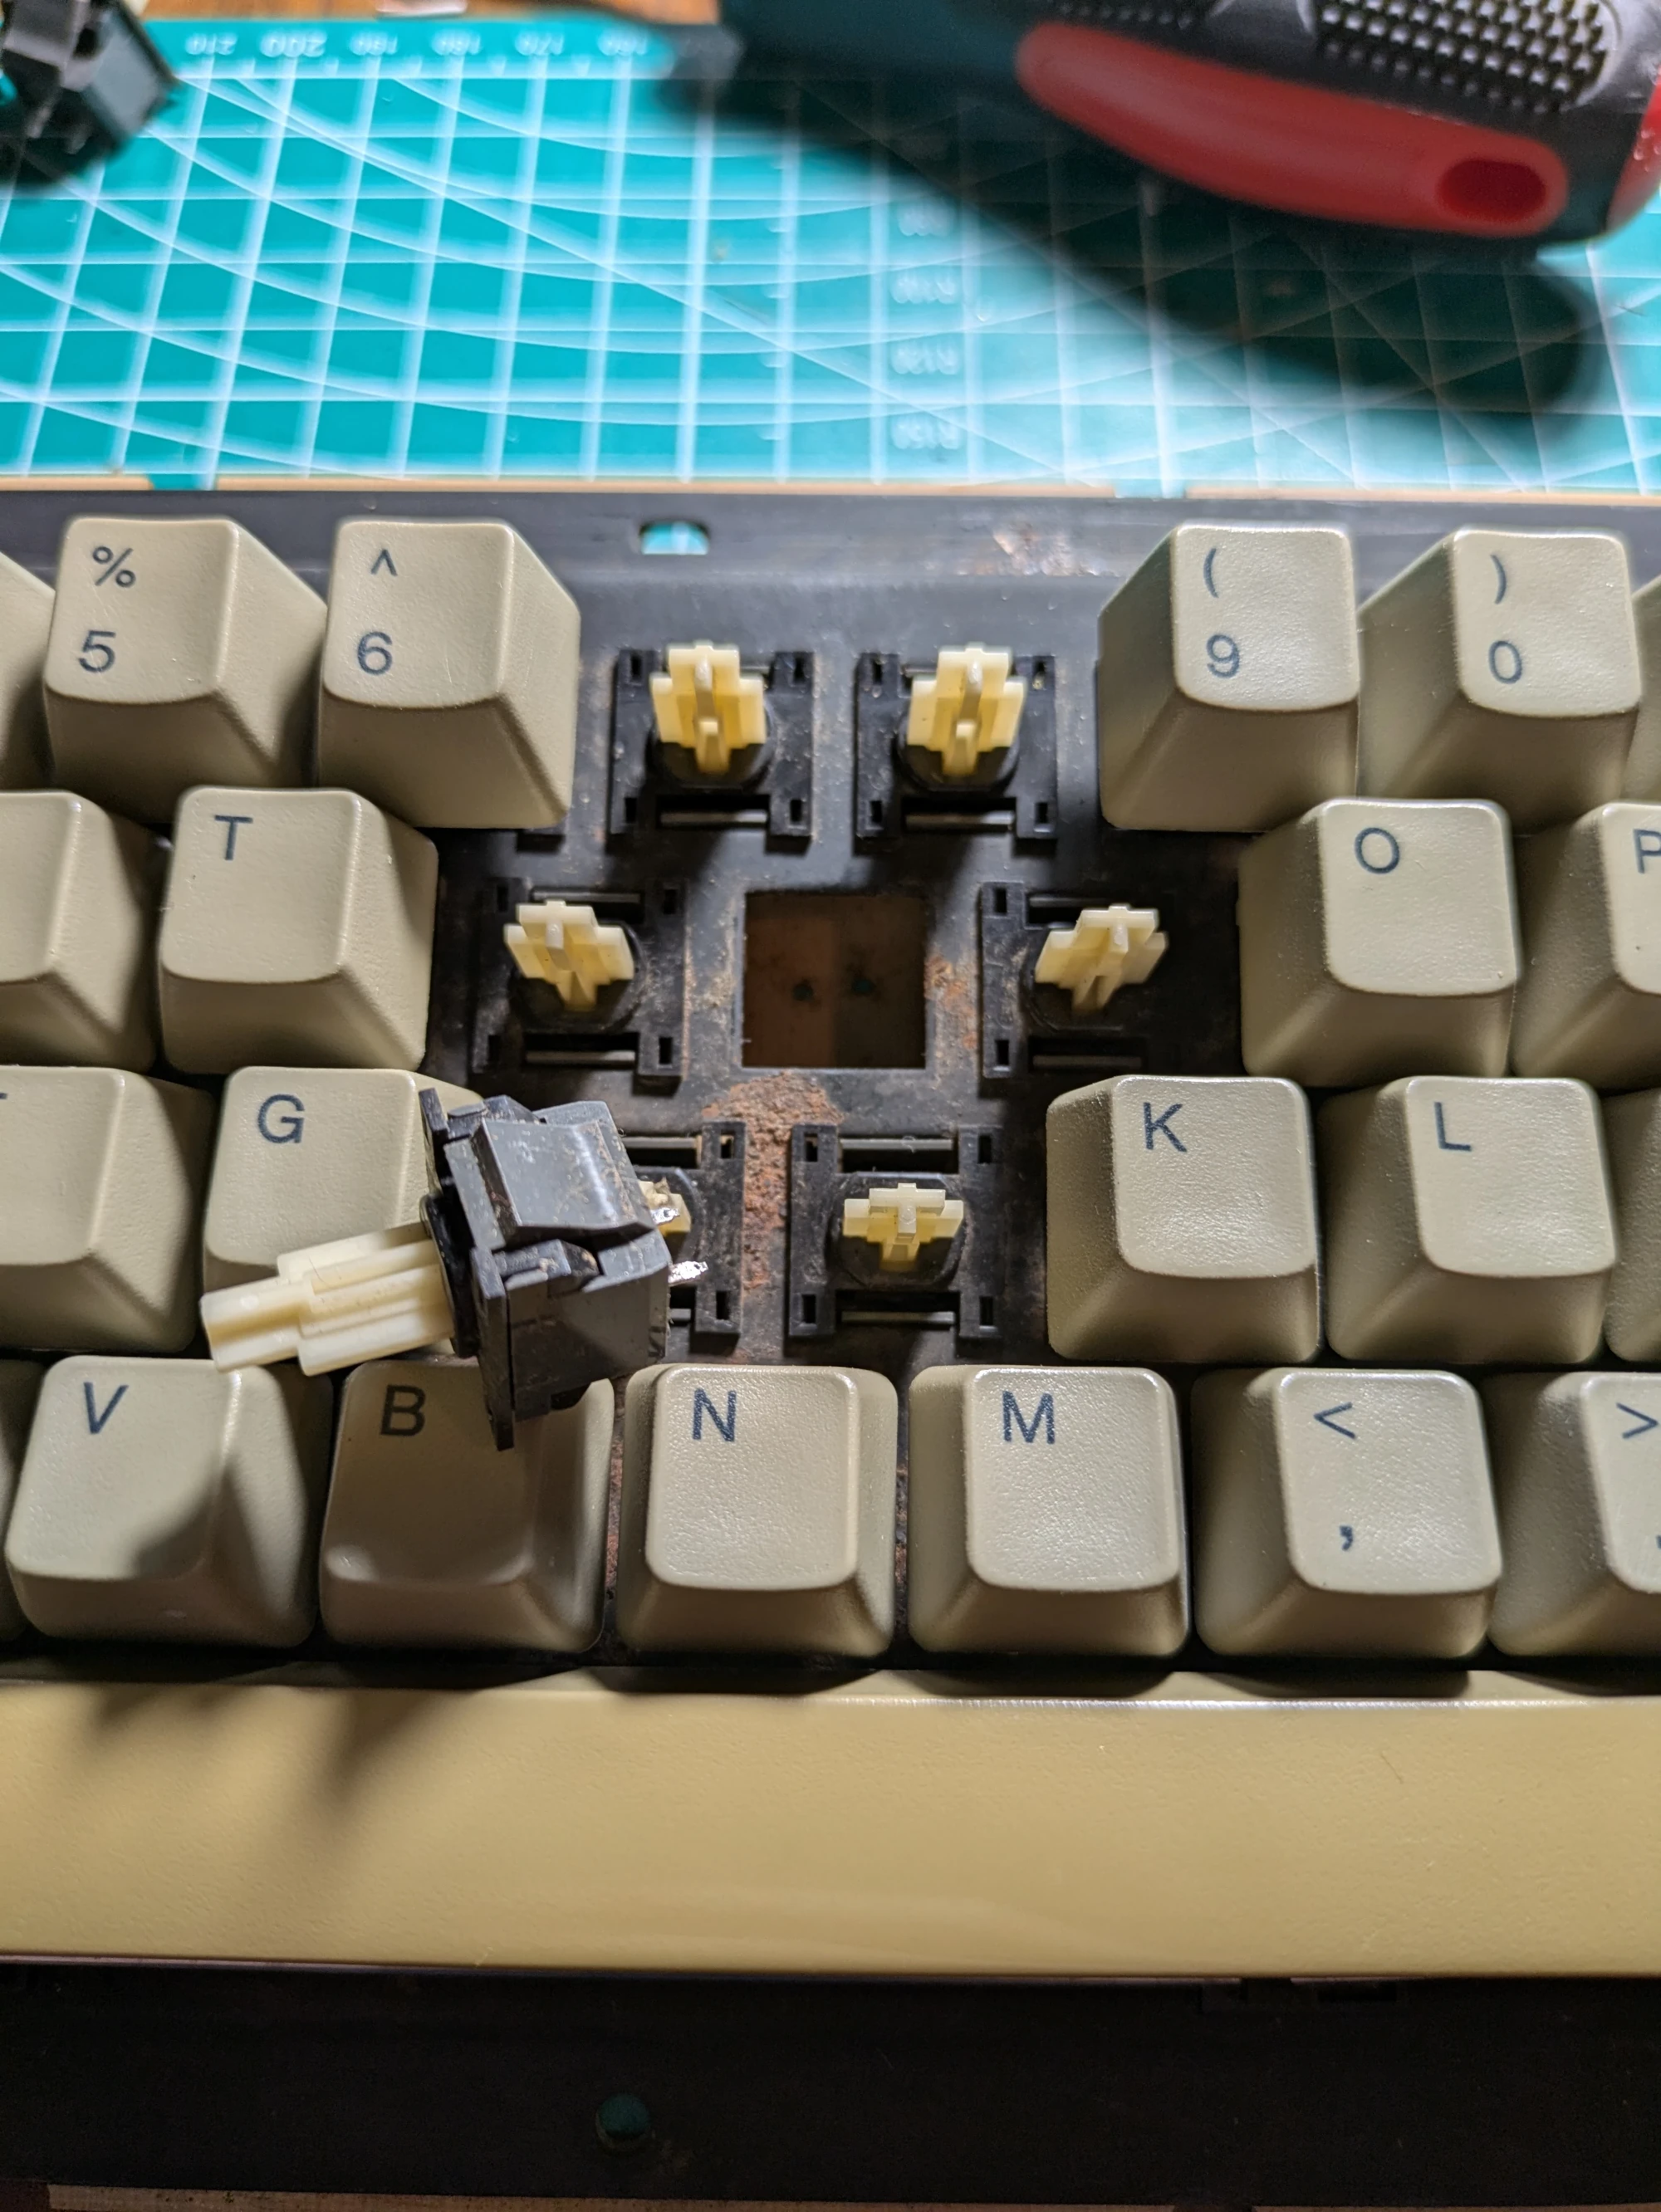
The bad switch is now free! I popped the new switch into the empty hole, with the pins aligned with the holes in the board. It snapped into place.
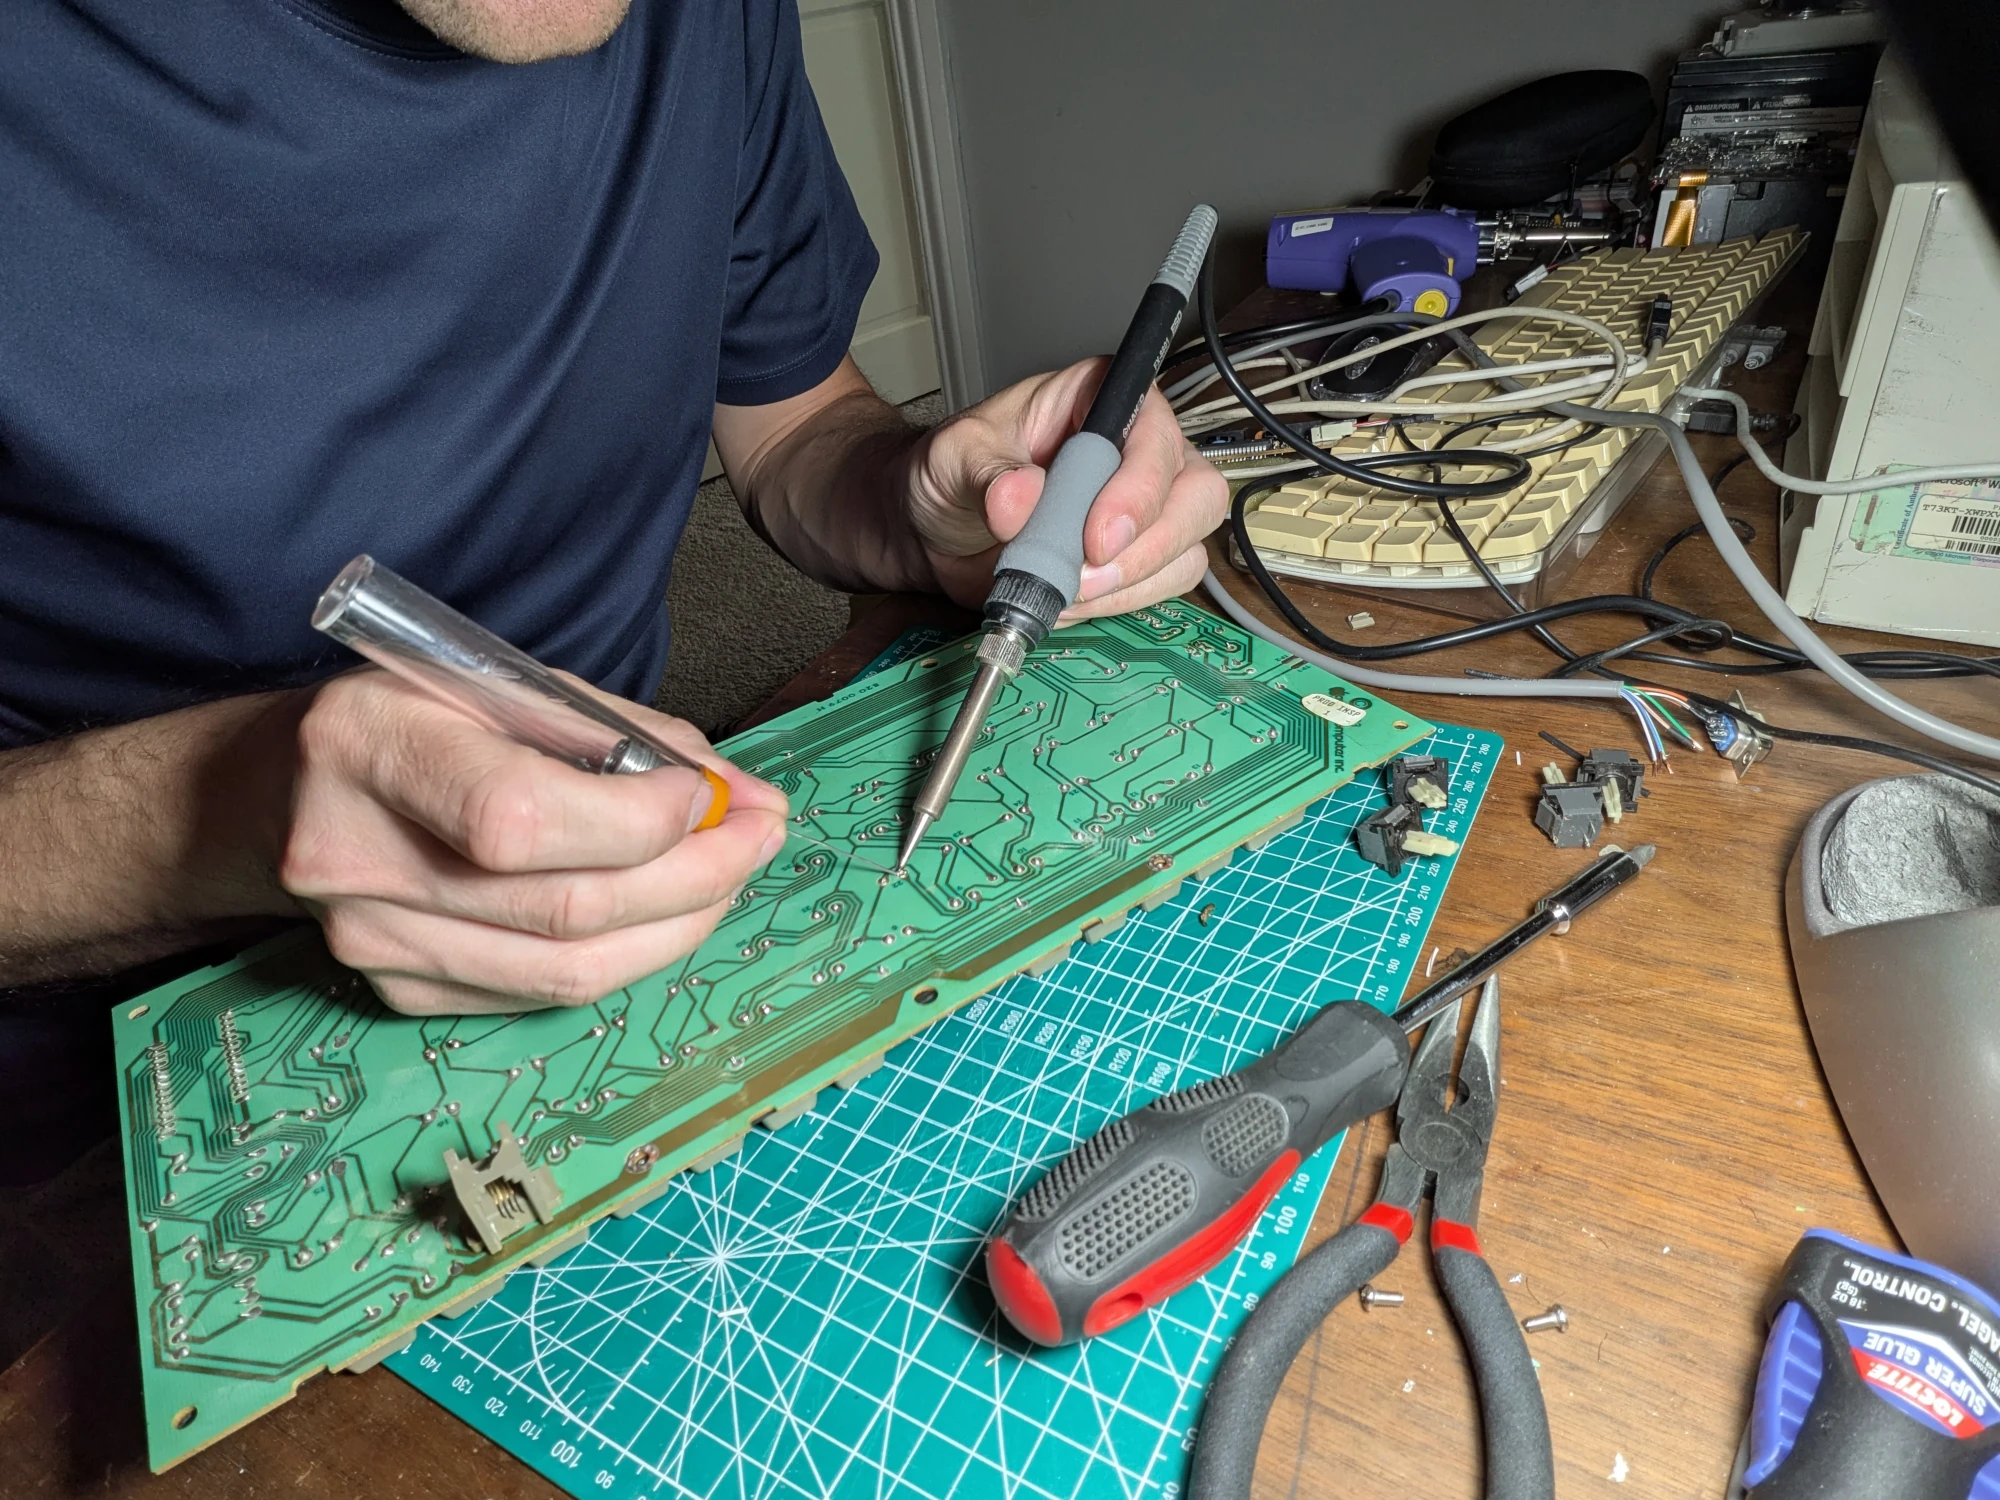
Finally, I soldered the pins to the board, replace the pulled keycaps, and screwed the case back together.
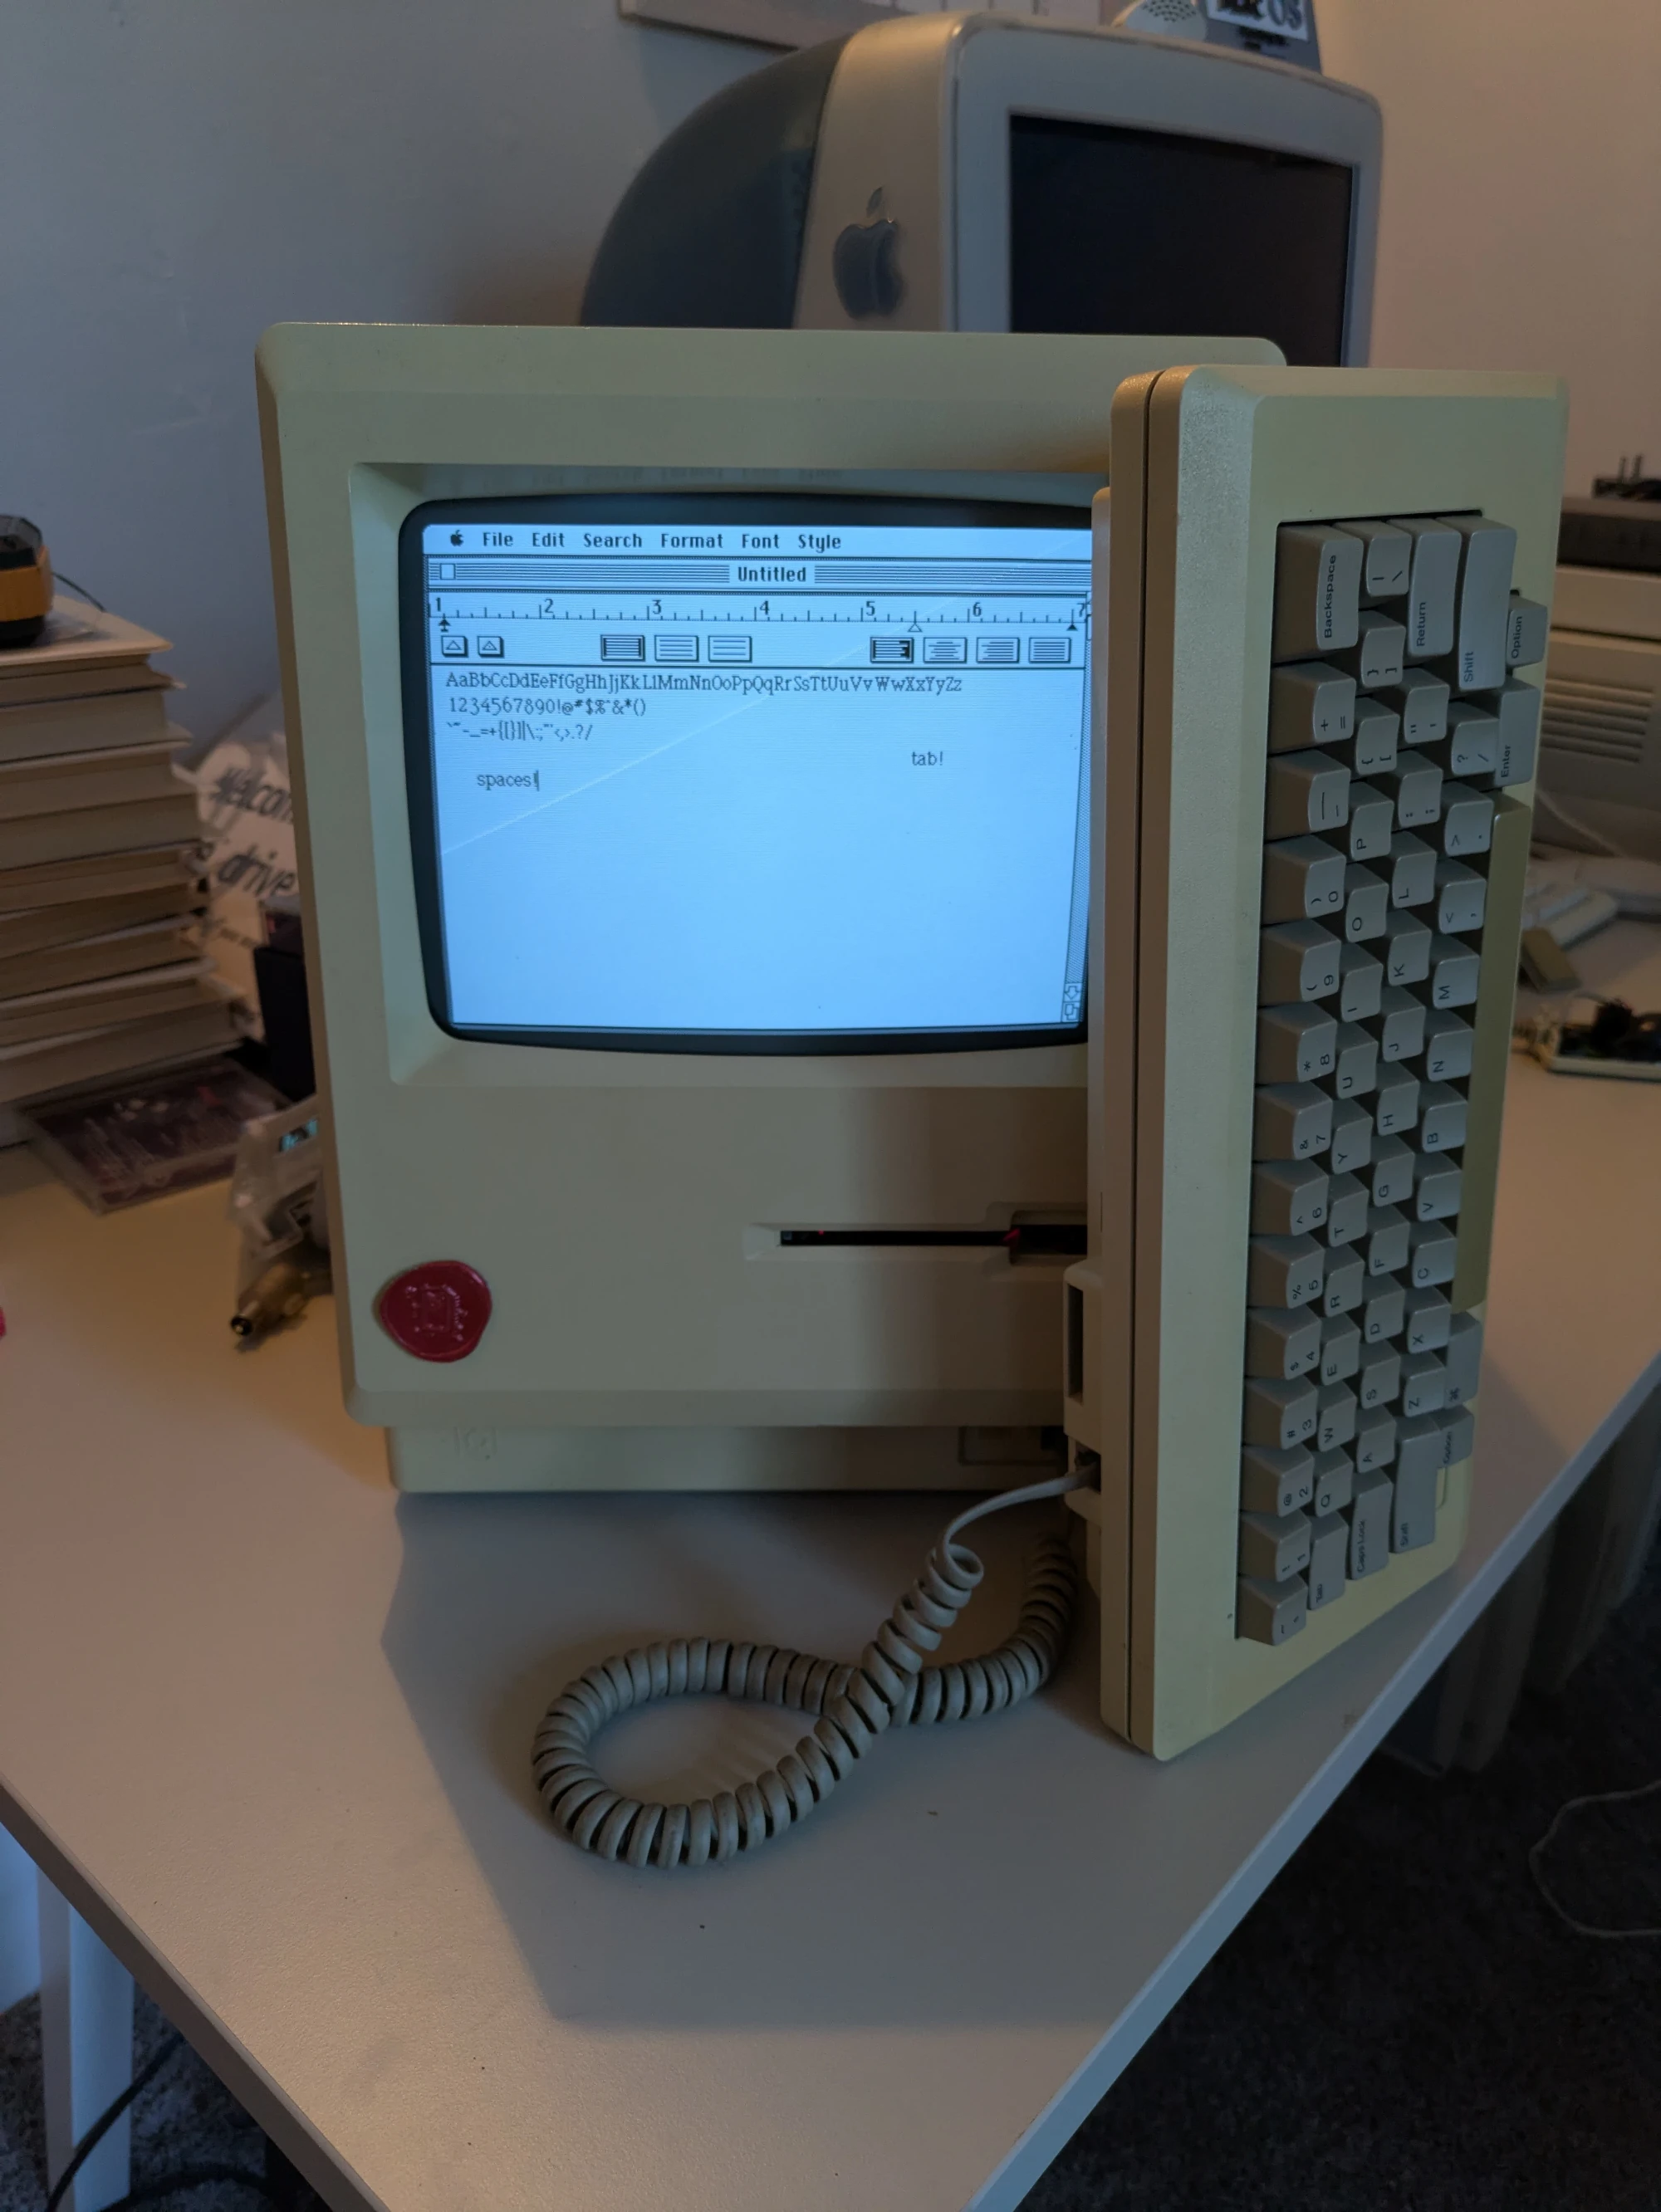
Great Success! All my keys are now functional! I told your mom about it later and she was pretty impressed, haha


Fonts are:
BattleName, by TragicManner
Earth Momma, by Mirz123
Unless otherwise noted, all other content is CC BY 4.0M, so feel free to use it so long as it is attributed to Andrew Weitzel